What we call a standard installation consumes more than one gigabyte on your hard drive and installs all of the modules that are generally used in SAS. It will likely install many more modules than you will use. But if your computer has enough disk space, you might want to go with the standard installation, since it is the easiest.
Step 0. Check your computer system
- SAS 9.1.3 WILL NOT run on Windows XP Home Edition.
- Make sure that your Microsoft Windows is up-to-date, for example, make
sure that Windows XP Service Pack 2 is installed. You can find out if
Service Pack 2 is installed on your machine by clicking "Control Panel ->
System" and you will see the following:
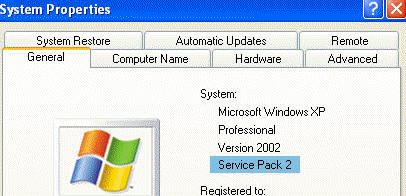
If your system is not up to date, you should update the system first before installing SAS. Visit the Microsoft Windows website for more details.
- Close all the programs, in particular, make sure that the
virus scan program is closed. Usually, there are a few Windows programs
running in the background, such as the virus scan program and such. You can
see what programs are running from the lower right corner of the
screen such as this one:
 . Most of the
time, you can then right click on them to close the programs. Be sure to
turn them back on after the installation.
Step 1. Before you start
- Where is your SID file?
Before starting your install, determine where your SID file is. It usually comes on a CD. You should copy it to your computer, say, to the Desktop. If you have received it from an email, we assume you have saved the attachment to the Desktop as sid.txt.
- Location of temporary WORK directory
SAS will pick up a default folder for the temporary files created during an active session of SAS. Unfortunately the default place is usually NOT the best place. This is because it is set to be in a windows temp directory and this is usually on C drive which may not have very large space as compared with other drives. Before you start your installation, use Windows explorer to see how large each of your hard drives are (if you have more than one) and select the drive with the most room for your WORK directory. We suggest that you make a folder on that drive, if you do not already have one, named sas_temp_data.
Step 2. Start the Install
- Put in the install DVD or CD (named SAS Setup Disk). If it does not start automatically, such as in the DVD version, click on the file named setup.exe.
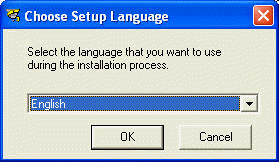
- Choose the language for running SAS (see window below)
Step 3. Verify System Requirements (and possibly update system to meet requirements)
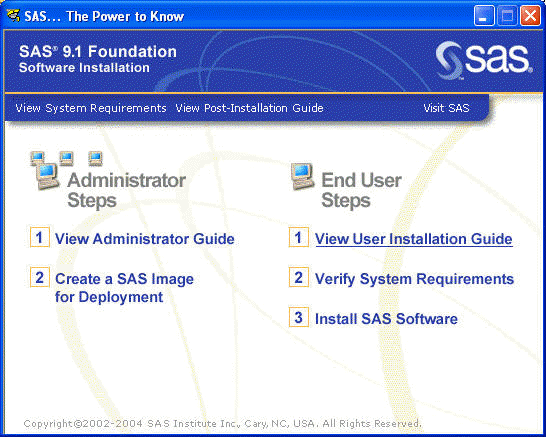
- Under the "End User Steps", choose "Verify System Requirements" (see window below)
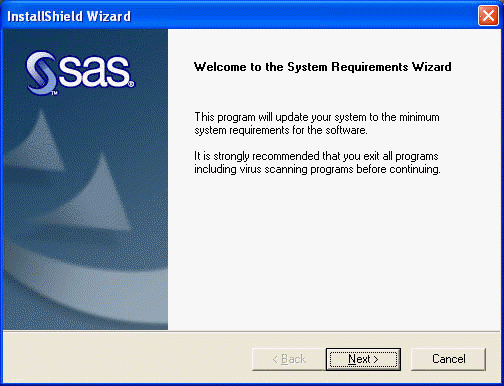
- Click next
- If you wish to automatically login after reboot, enter your computers
password
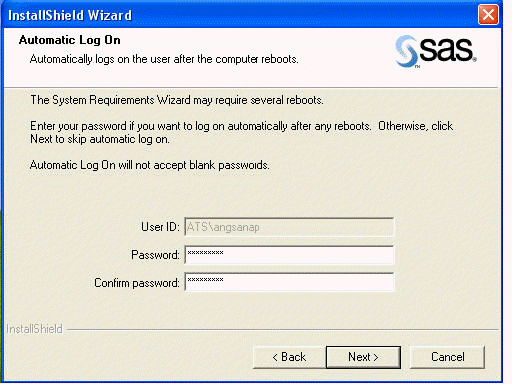
- In my case, I had three components that needed to be updated. I
pressed Next to update these components (screen omitted).
If I did not update these components, I would not have been able to continue
with the installation.
- If the System Requirements Wizard requires that you update Java Runtime Environments (JRE). After you click Next then JRE should automatically be installed..
- If the System Requirements Wizard is unable to update Microsoft Runtime Components , it is because there are a few files that are marked as read only and you need to change them to read-write so that the files will get updated. See SAS Technical Support page for more details. This only happens in really rare occasions. The location of these files should be in C:Windowssystem32.
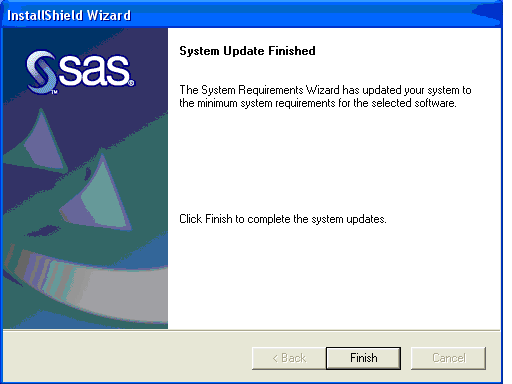
- These components were installed and my computer was rebooted, and then
the following screen showed the system update finished.
Step 4. Install SAS Software
- Click on the button to install SAS 9 Software (see windows below)
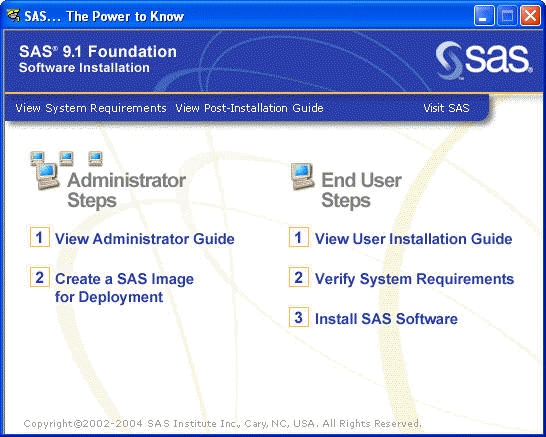
- Click next
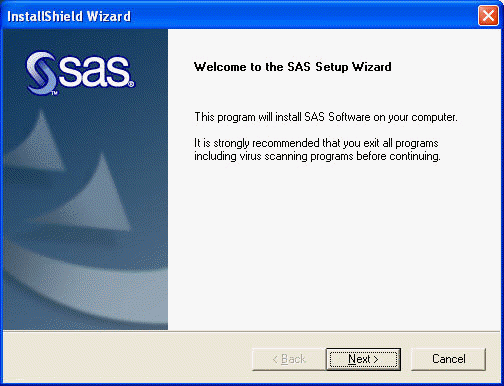
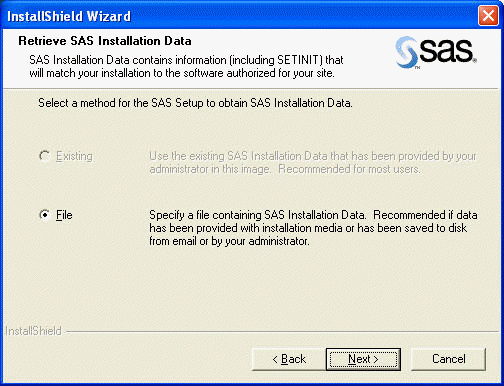
- Tell SAS that you have the SAS Installation Data in a File, which is
the default and then click on Next.
- Use the Browse button to point to where you have saved the
sid.txt file (in my example, I placed it on the Desktop), refer to
Step 1.
Then click Next.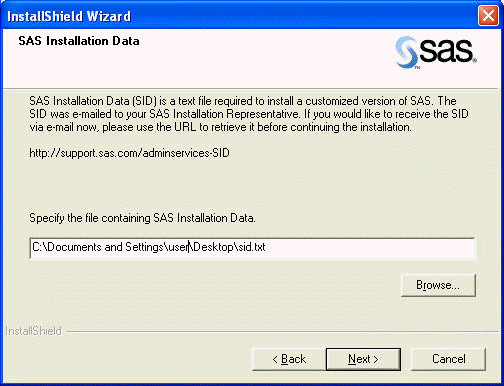
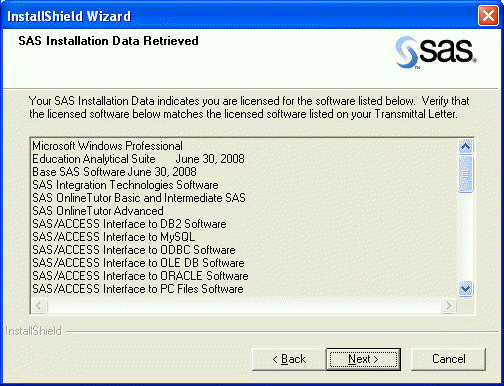
- It then shows the modules to be installed, then click Next .
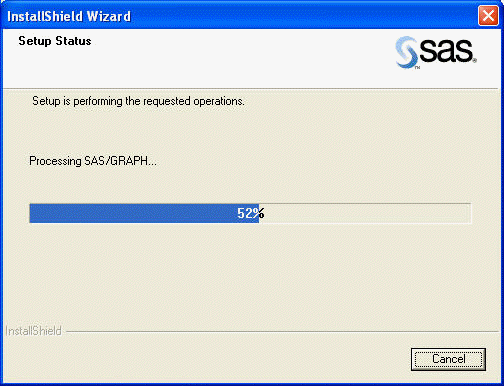
- It takes SAS a couple of minutes (depending on the speed of the
machine) to process the installation request. You will see a window such
as the one below.
- Select the language(s) you wish then press next.
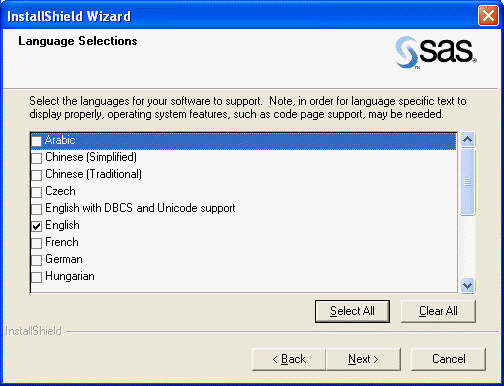
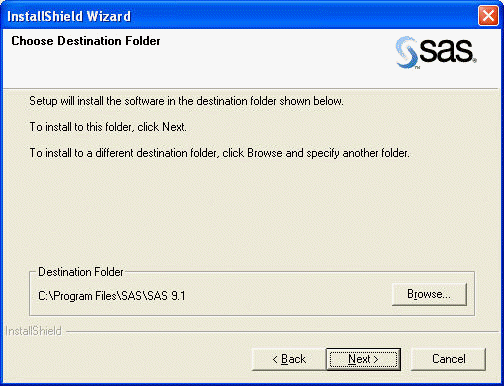
- If you are happy with the default installation location, press next.
Otherwise, click Browse to choose a different location to install
SAS then press Next.
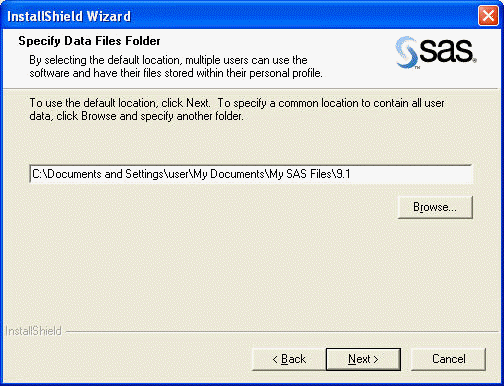
- This screen allows you to choose the default location for SAS Data
Files. If you are happy with the default installation location, press
next. Otherwise, click Browse to choose a different default
location for SAS Data Files then press Next.
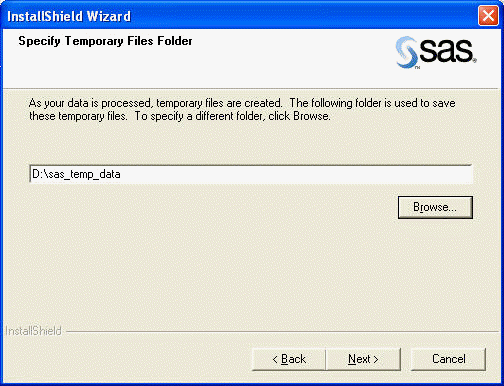
- This screen allows you to choose a different location for SAS
temporary files. Referring to Step 1, tell SAS where you want your
temporary (WORK) files to be located. In Step 1 I saw on my computer that my d: drive had the most free space so during Step
1 I made a directory d:sas_temp_data. Now in this step. I tell SAS to put the WORK files there in
d:sas_temp_data . Then click on Next.
- Click on Next.
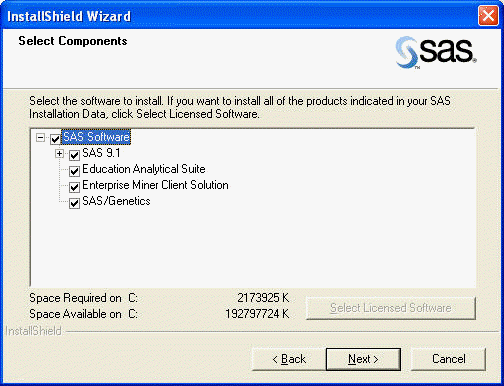
- This is a final confirmation screen, click next to start the install.
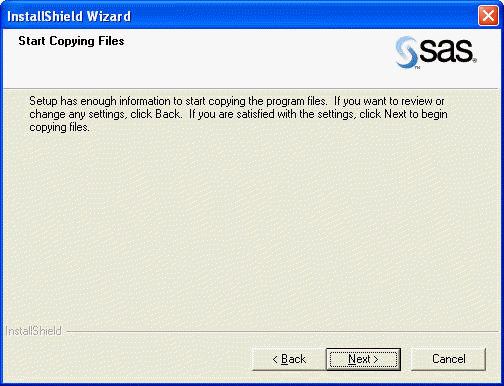
- Insert the disks as requested if you install using CDs. Wait for the disk to fully spin up
before hitting OK, otherwise the installer might have troubles reading the
disk and you might need to remove and reinsert the disk. If you install
from a DVD, choose the requested folder to proceed.
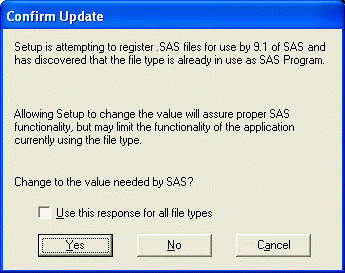
- SAS will ask whether you want to associate a variety of types of files
with SAS, an example is shown below. Most of the choices should be
yes. But there is a particular one that I want to say "No". This is to
the file type .LOG, since I would prefer to open it with a text editor,
such as NOTEPAD.
As you can tell, this is a difficult question. Answering YES associates the file with SAS, but could remove the association with another program (making for problems using the other program). Answering NO may keep SAS from launching the file. Answer as you see fit. Here is an example.
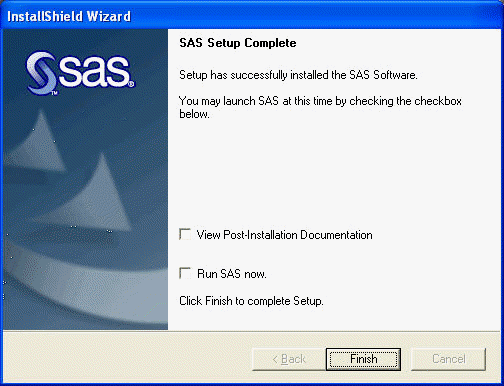
- SAS then will perform post-processing and it usually takes a while. If your installation is successful, you will see this window. You can
click Finish to complete the installation.
- After you complete the installation, you can start SAS by clicking
Start then Programs then SAS then SAS 9.1, as illustrated below.


