Overview
What we call a standard installation consumes about 2 gigabytes on your hard drive and installs all of the modules that are generally used in SAS. It will likely install many more modules than you will use.
In the middle of these instructions you will have a choice to do
what we call a lite installation that will install components we have
found to satisfy 90% of clients. If you seek a smaller installation to use less hard drive space
(about 350 meg),
then you might consider a lite install.
Step 0. Before you start!
- Where is your SID file?
Before starting your install, determine where your SID file is. If it is on a CD (XX called ??) copy it to your computer. I will assume you have copied it to c:sid.txt . If you have received it from an email, I assume you have saved the attachment as c:sid.txt .
- Step 0b. Location of temporary WORK directory
SAS will pick up a default folder for the temporary files created during an active session of SAS. Unfortunately the default place is usually NOT the best place. This is because it is set to be in a windows temp directory and this is usually on C drive which may not have very large space as compared with other drives. Before you start your installation, use Windows explorer to see how large each of your hard drives are (if you have more than one) and select the drive with the most room. We suggest that you make a folder on that drive, if you do not already have one, named TEMP.
Step 1. Start the Install
- Put in the CD named SAS Setup Disk
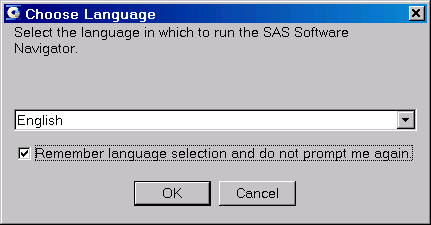
- Choose the language for running SAS
Step 2. Verify System Requirements (and possibly update system to meet requirements)
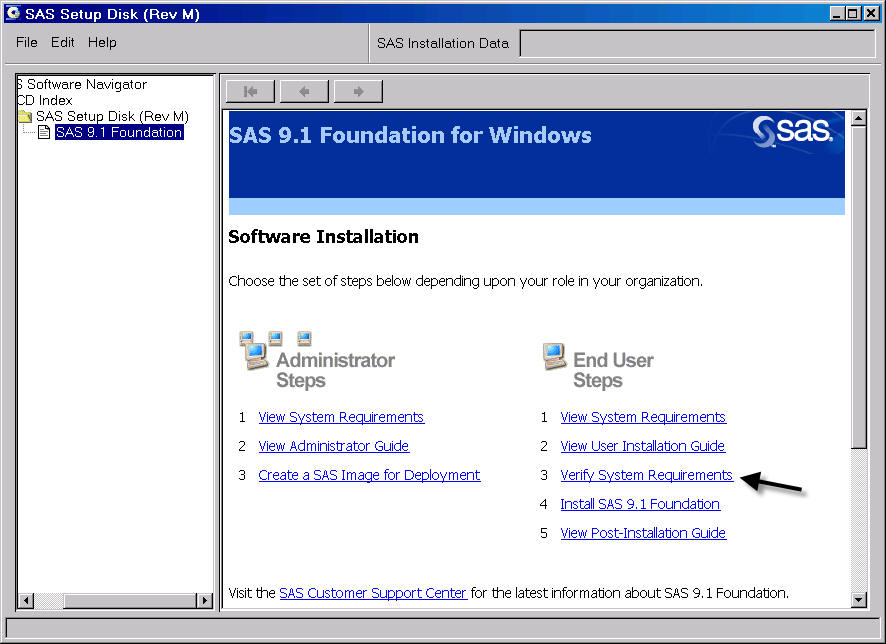
- Choose to Verify the System Requirements
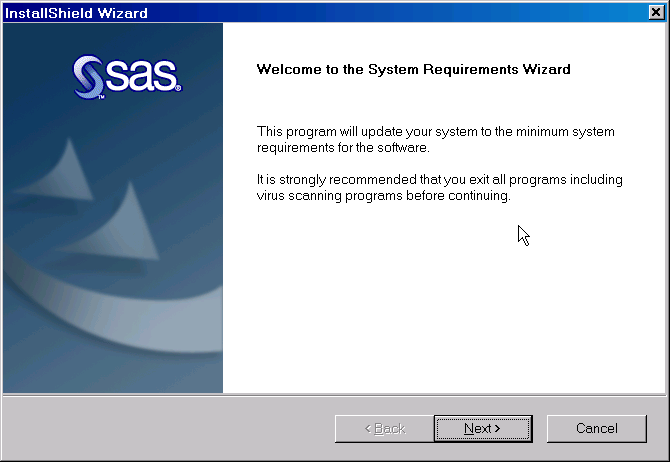
- Click next
- If you wish to automatically login after reboot, enter your computers
password
- In my case, I had three components that needed to be updated. I
pressed Next to update these components (screen omitted)
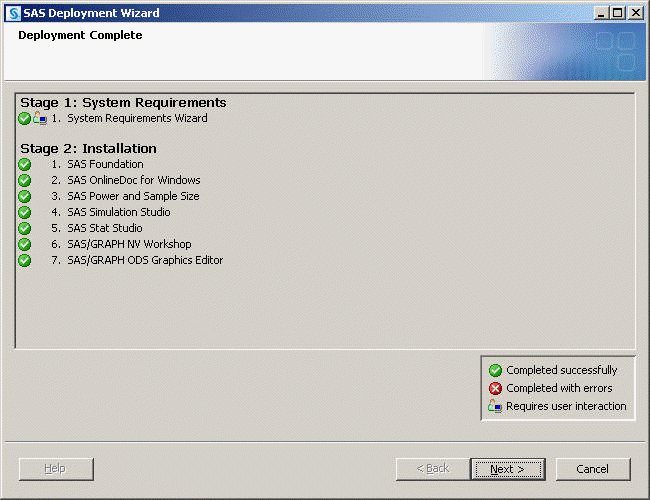
- These components were installed and my computer was rebooted, and then
the following screen showed the system update finished.
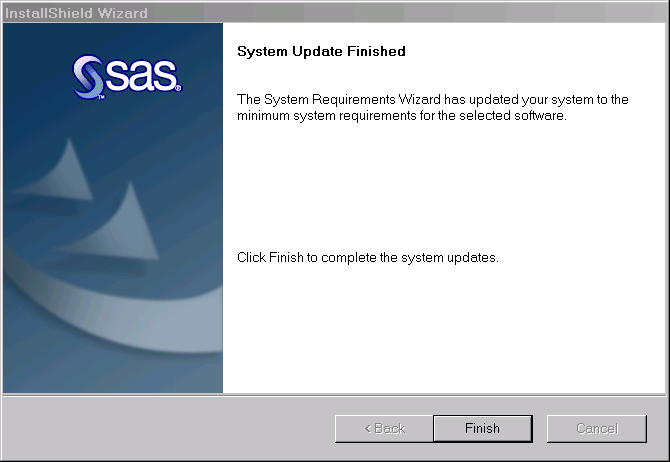
Step 3. Install SAS 9 Foundation
- Click on the button to install SAS 9 Foundation (see windows below)
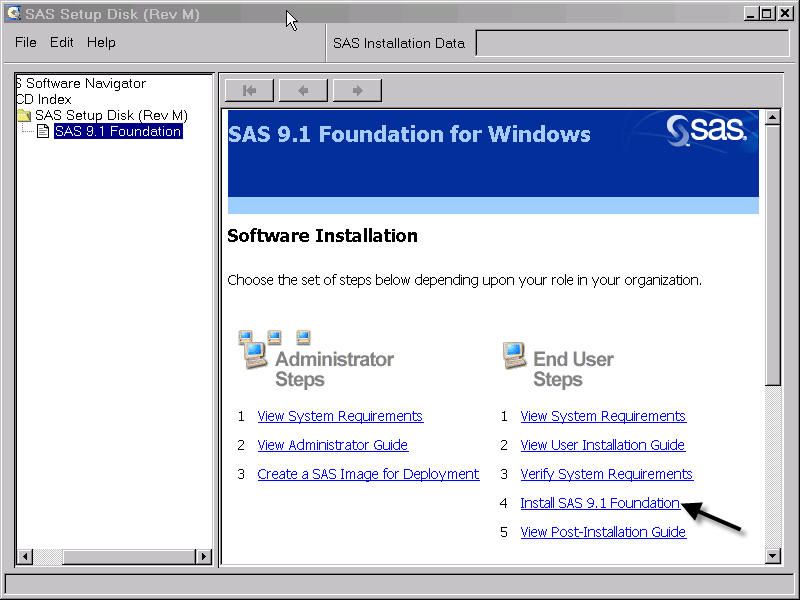
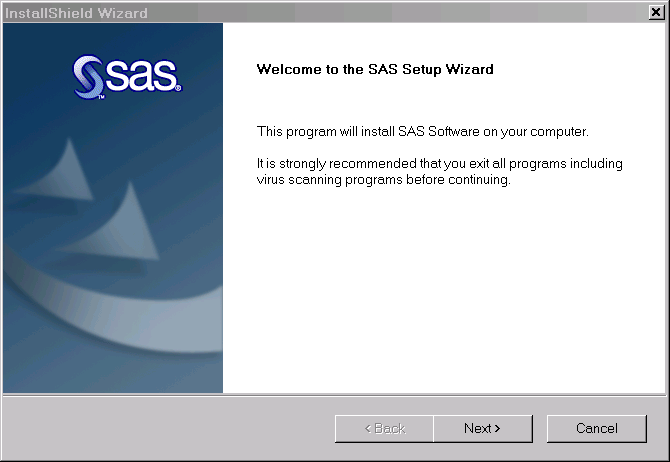
- Click next
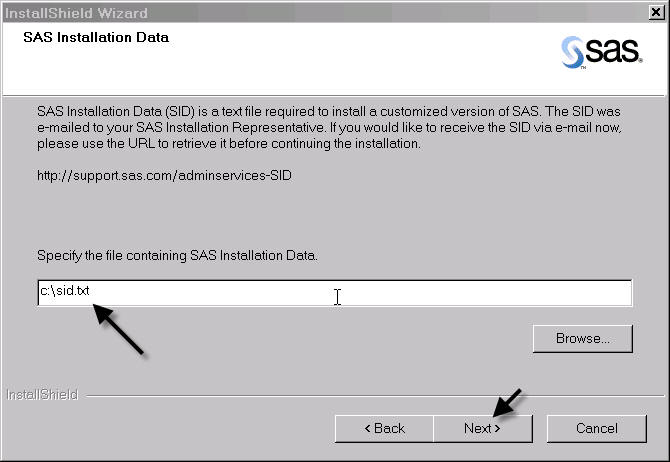
- Tell SAS that you have the SAS Installation Data in a File and click
next
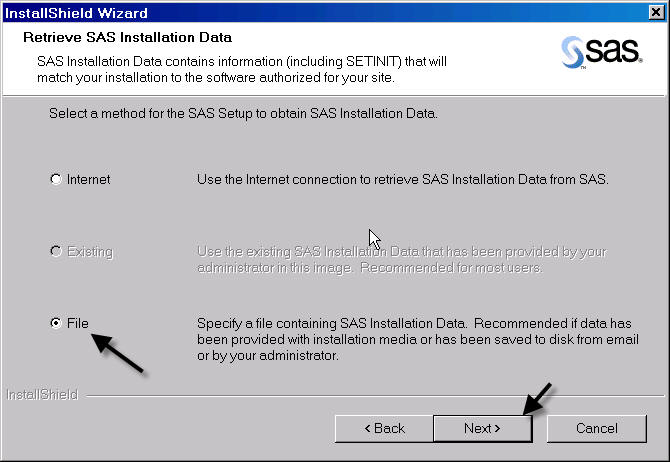
- Use the Browse button to point to where you have installed the
sid.txt file (in my example, I placed it in
c:sid.txt), refer to Step 0a.
Then click Next.
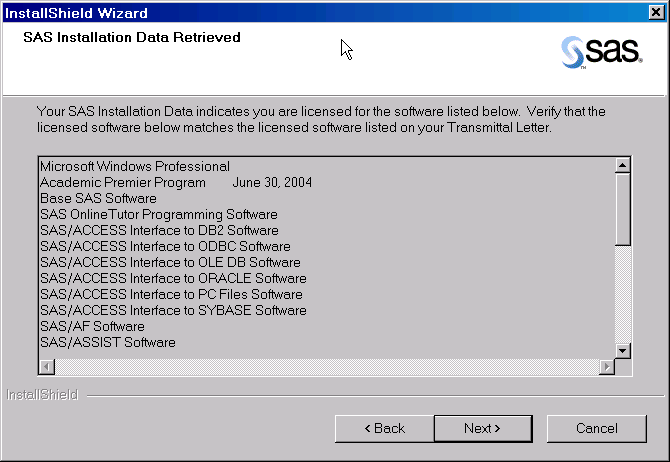
- It then shows the modules to be installed, then click Next .
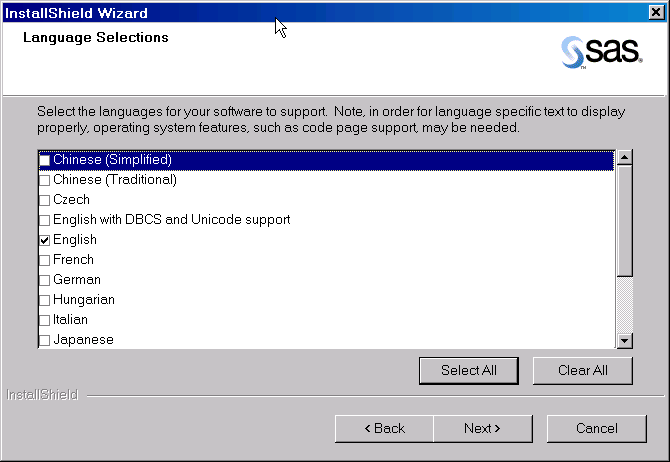
- Select the languages you wish then press next.
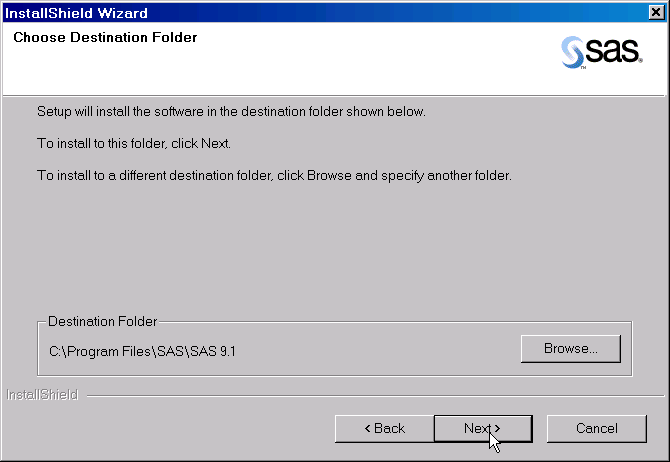
- This screen allows you to choose where the SAS Program will be
installed. If you are happy with the default installation location, press
next. Otherwise, click Browse to choose a different location to
install SAS then press Next.
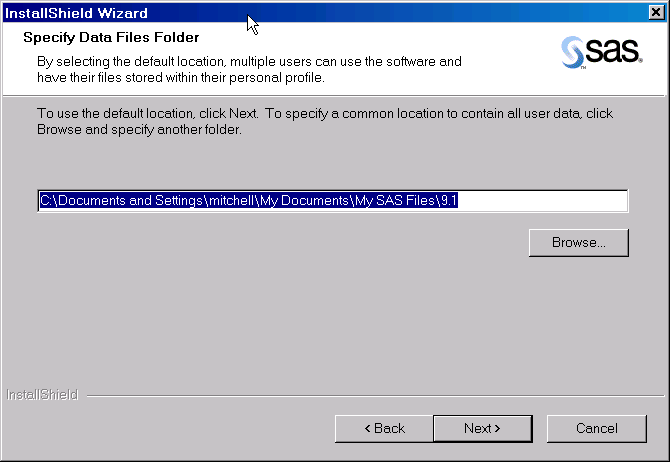
- This screen allows you to choose the default location for SAS Data
Files. If you are happy with the default installation location, press
next. Otherwise, click Browse to choose a different default
location for SAS Data Files then press Next.
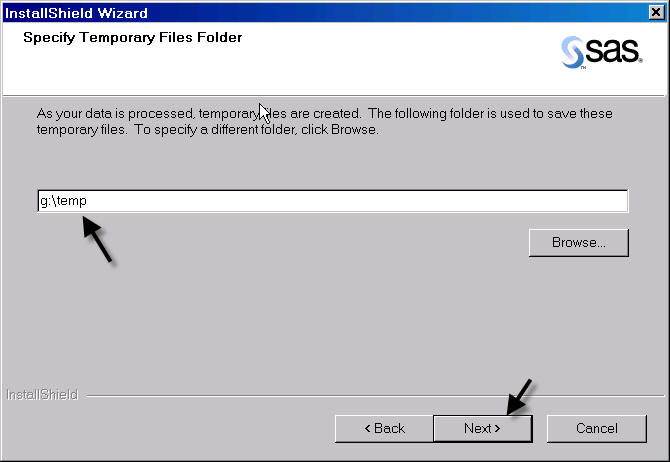
- This screen allows you to choose a different location for SAS
temporary files. Referring to Step 0b, tell SAS where you want your
temporary (WORK) files to be located. In Step 0b I saw my computer my
g: drive had the most free space so during Step 0b I made a directory
g:temp. Now in this step I tell SAS to put the WORK files there in
g:temp .
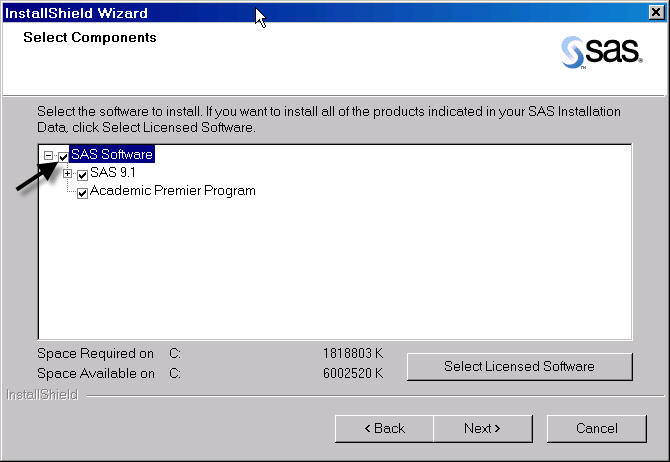
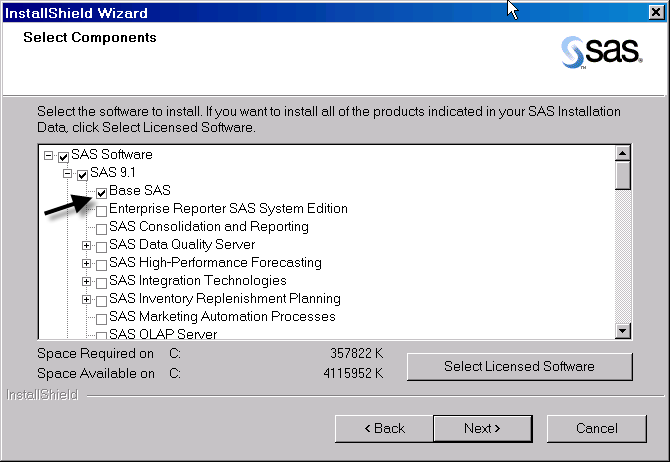
- The next screen allows you to choose the components (modules) to be
installed.
For a standard installation, check the box next to SAS Software (see below) to install all components. For a smaller installation (a lite installation, go to the next step (enclosed in the box).
If you wish a smaller installation, follow these steps for a lite installation. - Click on the + next to SAS 9.1
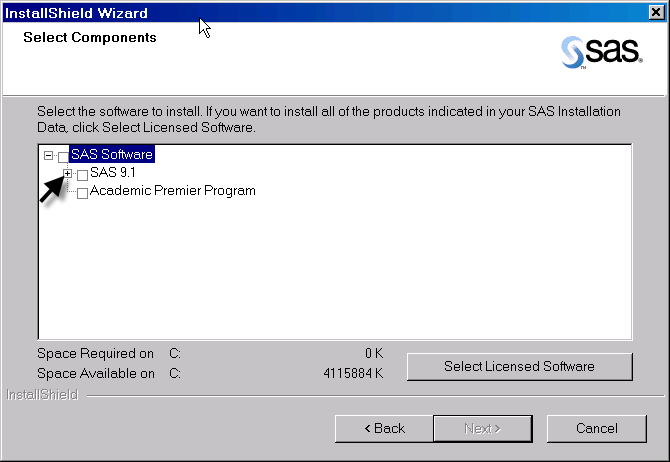
- Check the boxes next to the products to install. Based on our
experience,
these products should satisfy 90% of clients needs.
Feel free to add additional products you think you will need.– Base SAS
– SAS/ACCESS Interface to PC Files
– SAS/ETS
– SAS/Graph
– SAS/IML
– SAS/Insight
– SAS/QC
– SAS/Stat
– SAS/Spectraview
- Click on the + next to SAS 9.1
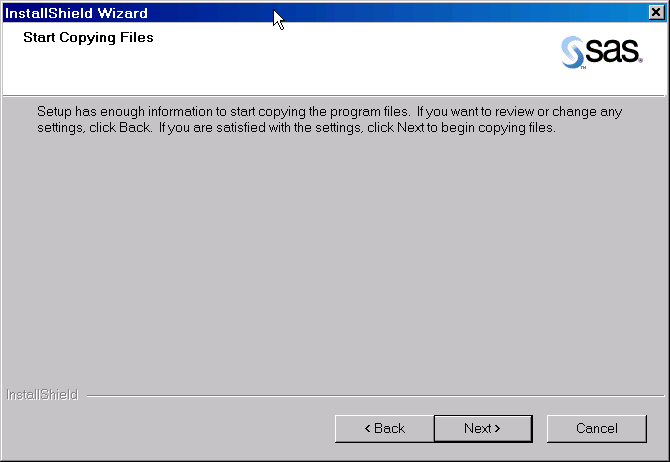
- This is a final confirmation screen, click next to start the install.
- Insert the disks as requested. Wait for the disk to fully spin up
before hitting OK, otherwise the installer might have troubles reading the
disk and you might need to remove and reinsert the disk.
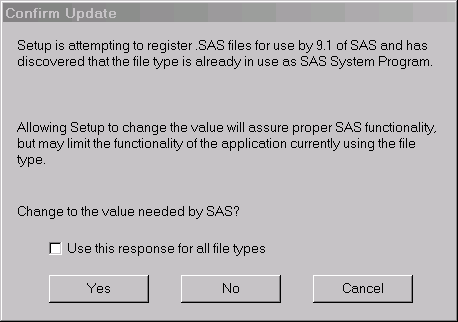
- SAS will ask whether you want to associate a variety of types of files
with SAS, an example is shown below. This is a difficult question.
Answering YES associates the file with SAS, but could remove the
association with another program (making for problems using the other
program). Answering NO may keep SAS from launching the file. Answer as you
see fit. Here is an example.
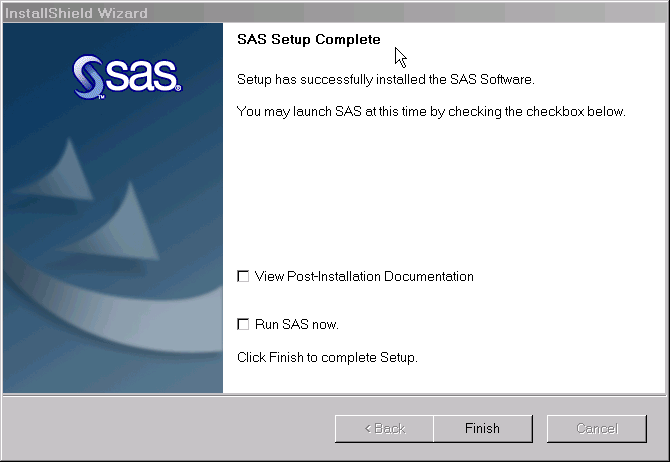
- If your installation is successful, you will see this window. You can
click Finish to complete the installation.
- After you complete the installation, you can start SAS by clicking
Start then Programs then SAS then SAS 9.1, as illustrated below.

