Between releases, SAS provides patches to fix bugs. These patches are called hot fixes by SAS. SAS sometimes bundles a number of hot fixes together into service packs to ease the process of downloading and installing a large number of hot fixes. Any available hot fixes or service packs for SAS 9.2 will be listed on the SAS support website. Hot fixes and service packs are available for several of different versions of SAS (e.g. 9.1.3, 8.2, etc), as well as different operating systems, so be sure any hot fixes or service packs you download and install are appropriate both for your version of SAS and your computer’s operating system.
Here are the steps to install a hot fix. (Note that there may be multiple hot fixes, each of which will have to be installed separately.)
Step 1. Download the hot fix(es) from the SAS support website.
Step 2. Locate the hot fix file you want to install (where you saved it in step 1) and double click on the file to run it.

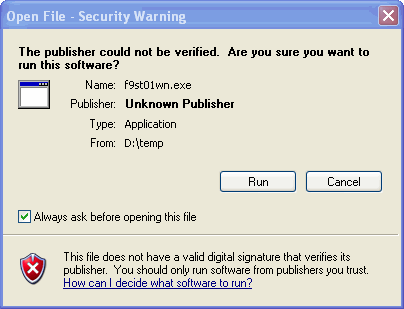
Step 3. Your operating system may or may not give you the warning message above, if it does, click Run to run the hot fix installation program, otherwise, move on to step 4.

Step 4. If you are running the appropriate version of SAS for the hot fix you wish to install, and your operating system is set up to allow you to install software click Next.
It may take a moment for the next screen to appear because the program must extract and run various files. You may notice several other windows appear (but do not require any action on your part) before the one shown below appears, this is expected.

Step 5. Click next to continue with installation.

Step 6. If you agree with the legal notice, click Yes to continue with installation.
Once again, there may be a brief pause, and other windows (which do not require any action on your part) may appear, as the program runs.

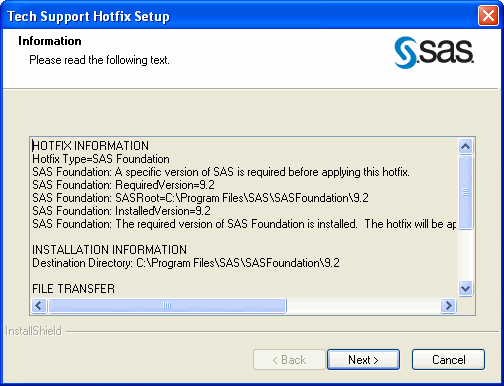
Step 7. This window gives information on the hot fix being installed, click Next to continue with installation.

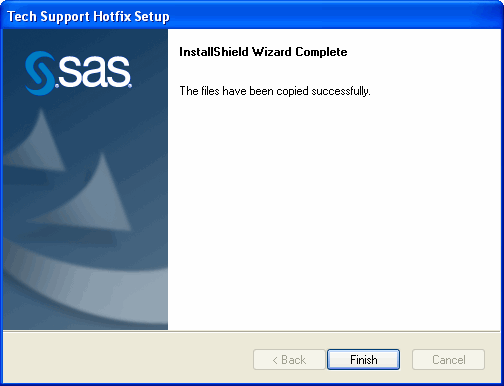
Step 8. When this window appears, installation is complete, click finish.
